After completing the data collection process, cleaning the WaveRIDER® NL 2 is very important because some types of flux tend to build up on the pallet very quickly. The following information will discuss various cleaning machines and methods used to clean the RIDER, and how to get it ready for the data run.
|
The M.O.L.E. Profiler must be removed before the WaveRIDER® NL 2 is cleaned because it may be damaged or destroyed by water or solvents. |
.png "Caution")
| 1) | Turn the locking latch and the raise barrier box cover until it comes to a rest. Remove the configuration plug, and pull the extractor handle to remove the M.O.L.E. Profiler. |
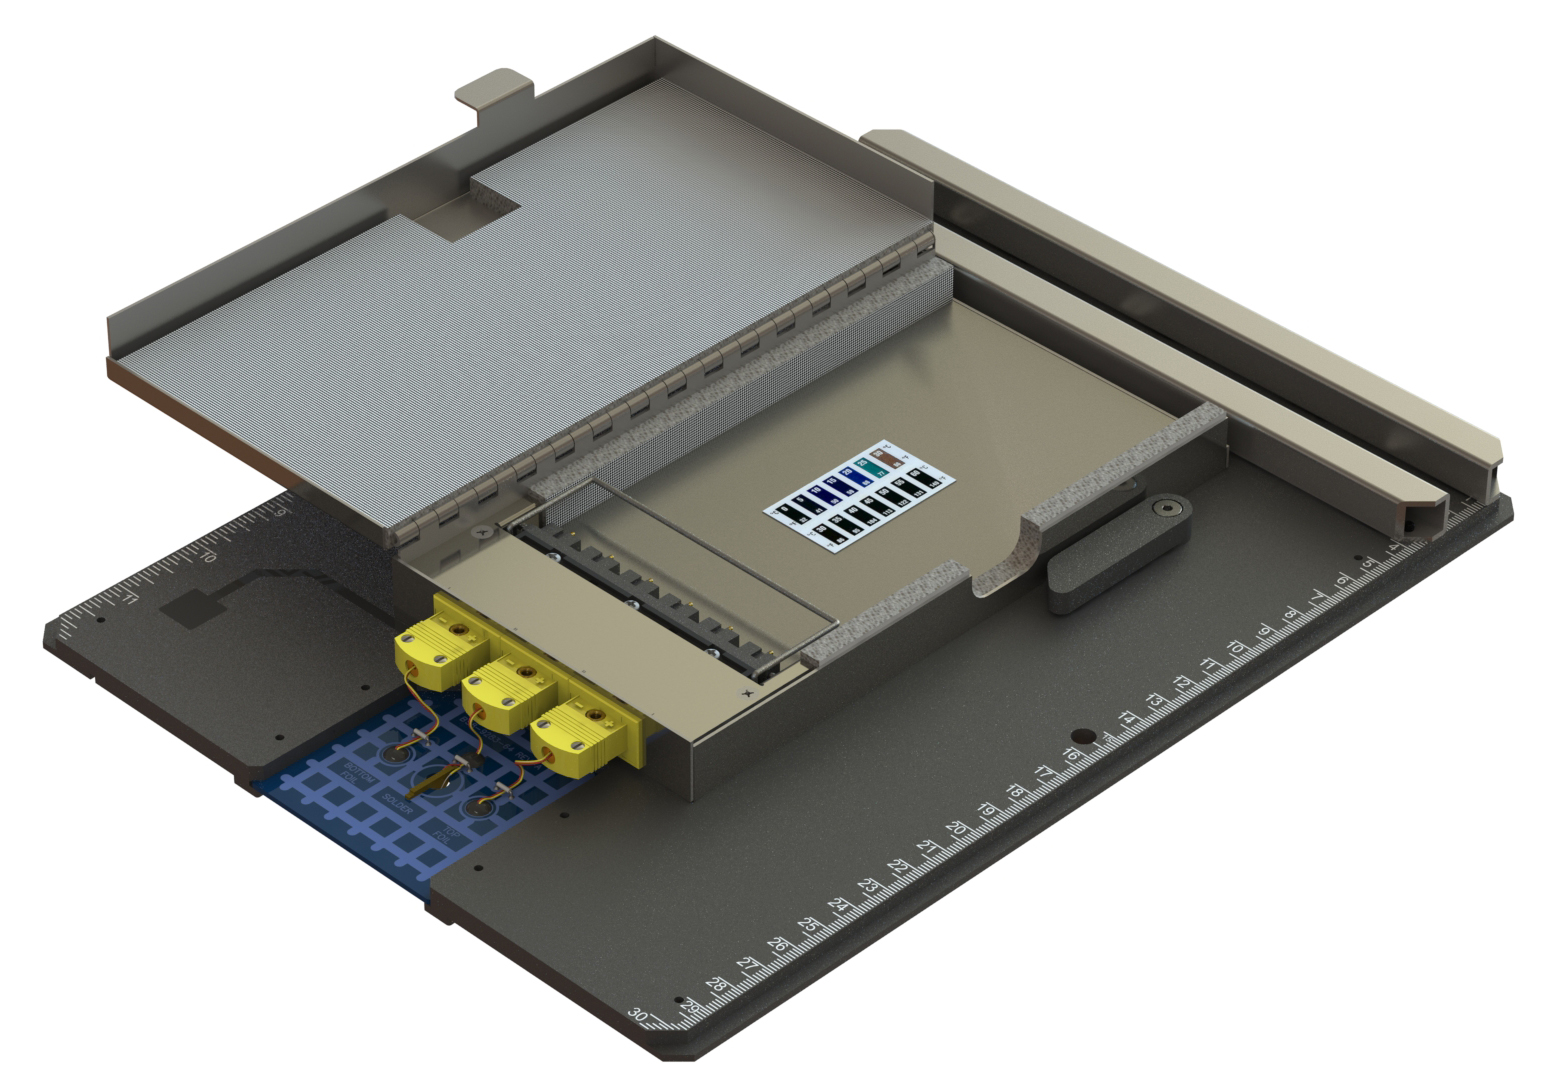
| 2) | Using a brass wire brush with fine bristles, clean the contact sensors on the bottom of the WaveRIDER® NL 2 pallet. When cleaning the sensors, use enough force to get them cleaned and free from debris but not too much that they will be damaged. |
.png)
| 3) | Open the barrier box cover allowing inside completely dry. Once the WaveRIDER® NL 2 is dry and insert the M.O.L.E. into the Thermal Barrier. |
| 4) | If using a Pre-WaveRIDER® NL 2 pallet design, once the M.O.L.E. is removed make sure that the configuration plug is tucked under the cover while it is closed and rotate the locking latch to secure. |